Create a .NET Application with MATLAB Code
This example shows how to transform a MATLAB® function into
a .NET assembly and integrate it into an application. The example
compiles a MATLAB function, makesquare, which
computes a magic square, into a .NET assembly named MagicSquareComp,
which contains the MLTestClass class and other
files needed to deploy your application.
In MATLAB, create the function that you want to deploy as a shared library.
This example uses the sample function, called
makesquare.m, included in thematlabroot\toolbox\dotnetbuilder\Examples\VSVersion\NET\MagicSquareExample\MagicSquareCompmatlabrootrepresents the name of your MATLAB installation folder.function y = makesquare(x) y = magic(x);Run the example in MATLAB.
makesquare(5)
17241815235714164613202210121921311182529Open the Library Compiler app.
On the toolstrip, select the Apps tab.
Click the arrow at the far right of the tab to open the apps gallery.
Click Library Compiler.
Note: You can also call the
libraryCompilercommand.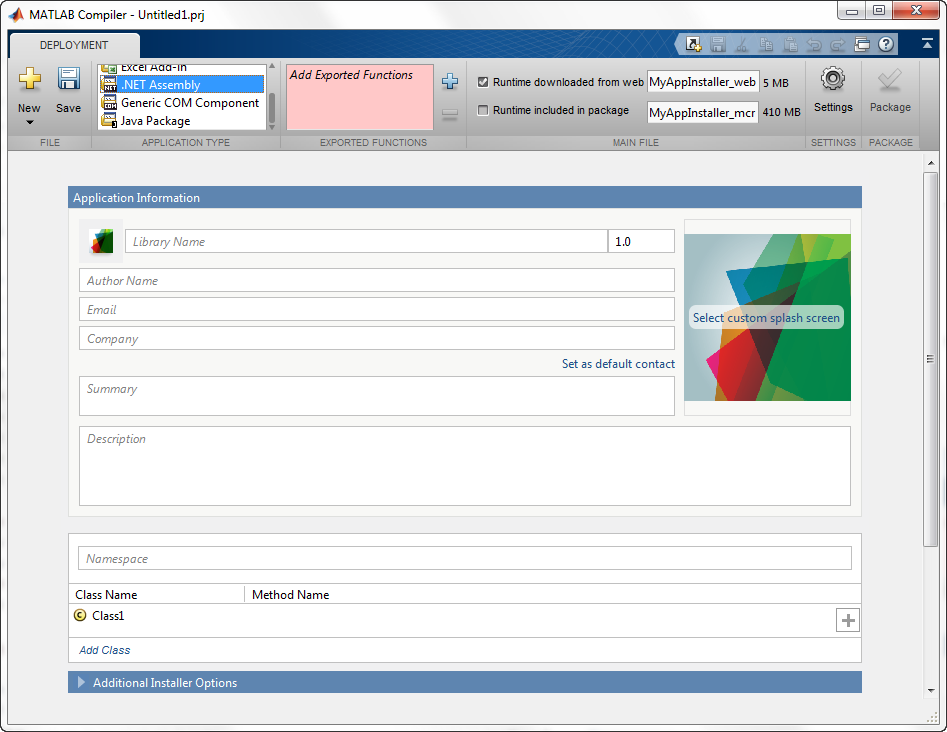
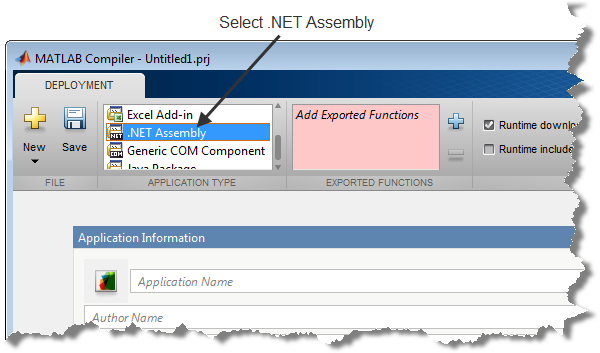
In the Application Type section of the toolstrip, select .NET Assembly from the list.
Note: If the Application Type section of the toolstrip is collapsed, you can expand it by clicking the down arrow.
Specify the MATLAB functions that you want to deploy.
In the Exported Functions section of the toolstrip, click the plus button.
In the file explorer that opens, locate and select the
makesquare.mfile.Click Open to select the file and close the file explorer.
The Library Compiler app adds makesquare.m to the list of files and a minus button appears under the plus button. The Library Compiler app uses the name of the file as the name of the deployment project file (
.prj), shown in the title bar, and as the name of the assembly, shown in the first field of the Application Information area. The project file saves all of the deployment settings so that you can re-open the project.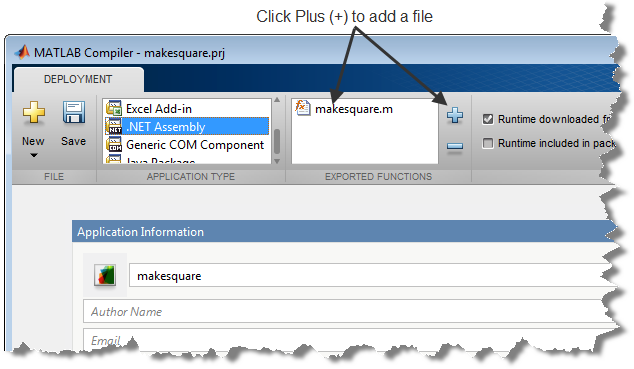
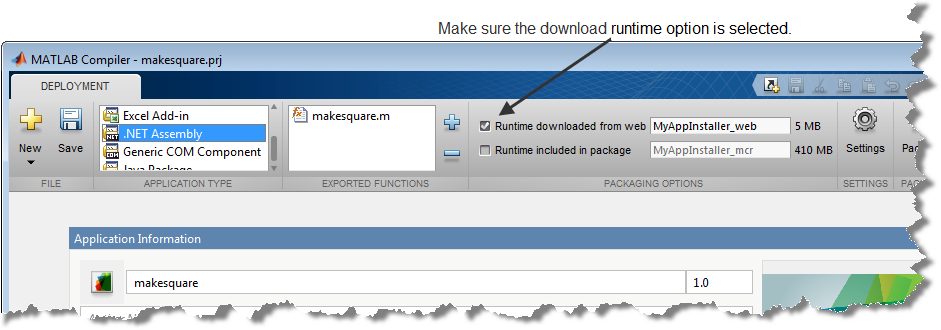
In the Packaging Options section of the toolstrip, verify that the Runtime downloaded from web check box is selected.
This option creates an application installer that automatically downloads the MATLAB Runtime and installs it along with the deployed add-in.
In the top field of Application Information, replace
makesquarewithMagicSquareComp.In the Class Name column of the class browser, replace
Class1withMLTestClass.Click Package.
The Package window opens while the library is being generated. Select the Open output folder when process completes check box. The packaging process generates a self-extracting file that automatically registers the DLL and unpacks all deployable deliverables.
When the deployment process is complete, a file explorer opens and displays the generated output.
It should contain:
for_redistribution— A folder containing the installer to distribute the generated assemblyfor_testing— A folder containing the raw files generated by the compilerfor_redistribution_files_only— A folder containing only the files needed to redistribute the assemblyPackagingLog.txt— A log file generated by the compiler
Click Close on the Package window.
Open the
for_redistributionfolder.Run the installer.
Open Microsoft® Visual Studio®
Create a new project.
For this example create a C# Console Application called MainApp.
Create a reference to your assembly.
The assembly is located in the application folder created when you installed the component. For this example, select
makeSqr.dll.Create a reference to the
MWArrayAPI.The API is located in
MATLABROOT\toolbox\dotnetbuilder\bin\arch\version\MWArray.dllPaste the following code into your main file.
using System;
using System.Collections.Generic;
using System.Text;

using MagicSquareComp;
using MathWorks.MATLAB.NET.Arrays;
using MathWorks.MATLAB.NET.Utility;

namespace mainApp
{
    class Program
    {
        static void Main(string[] args)
        {
            MLTestClass obj = null;
            MWNumericArray input = null;
            MWNumericArray output = null;
            MWArray[] result = null;

            try
            {
                obj = new MLTestClass();

                input = 5;
                result = obj.makesquare(1, input);

                output = (MWNumericArray)result[0];
                Console.WriteLine(output);
            }
            catch
            {
                throw;
            }
        }
    }
}
After you finish writing your code, you build and run it with Microsoft Visual Studio.